
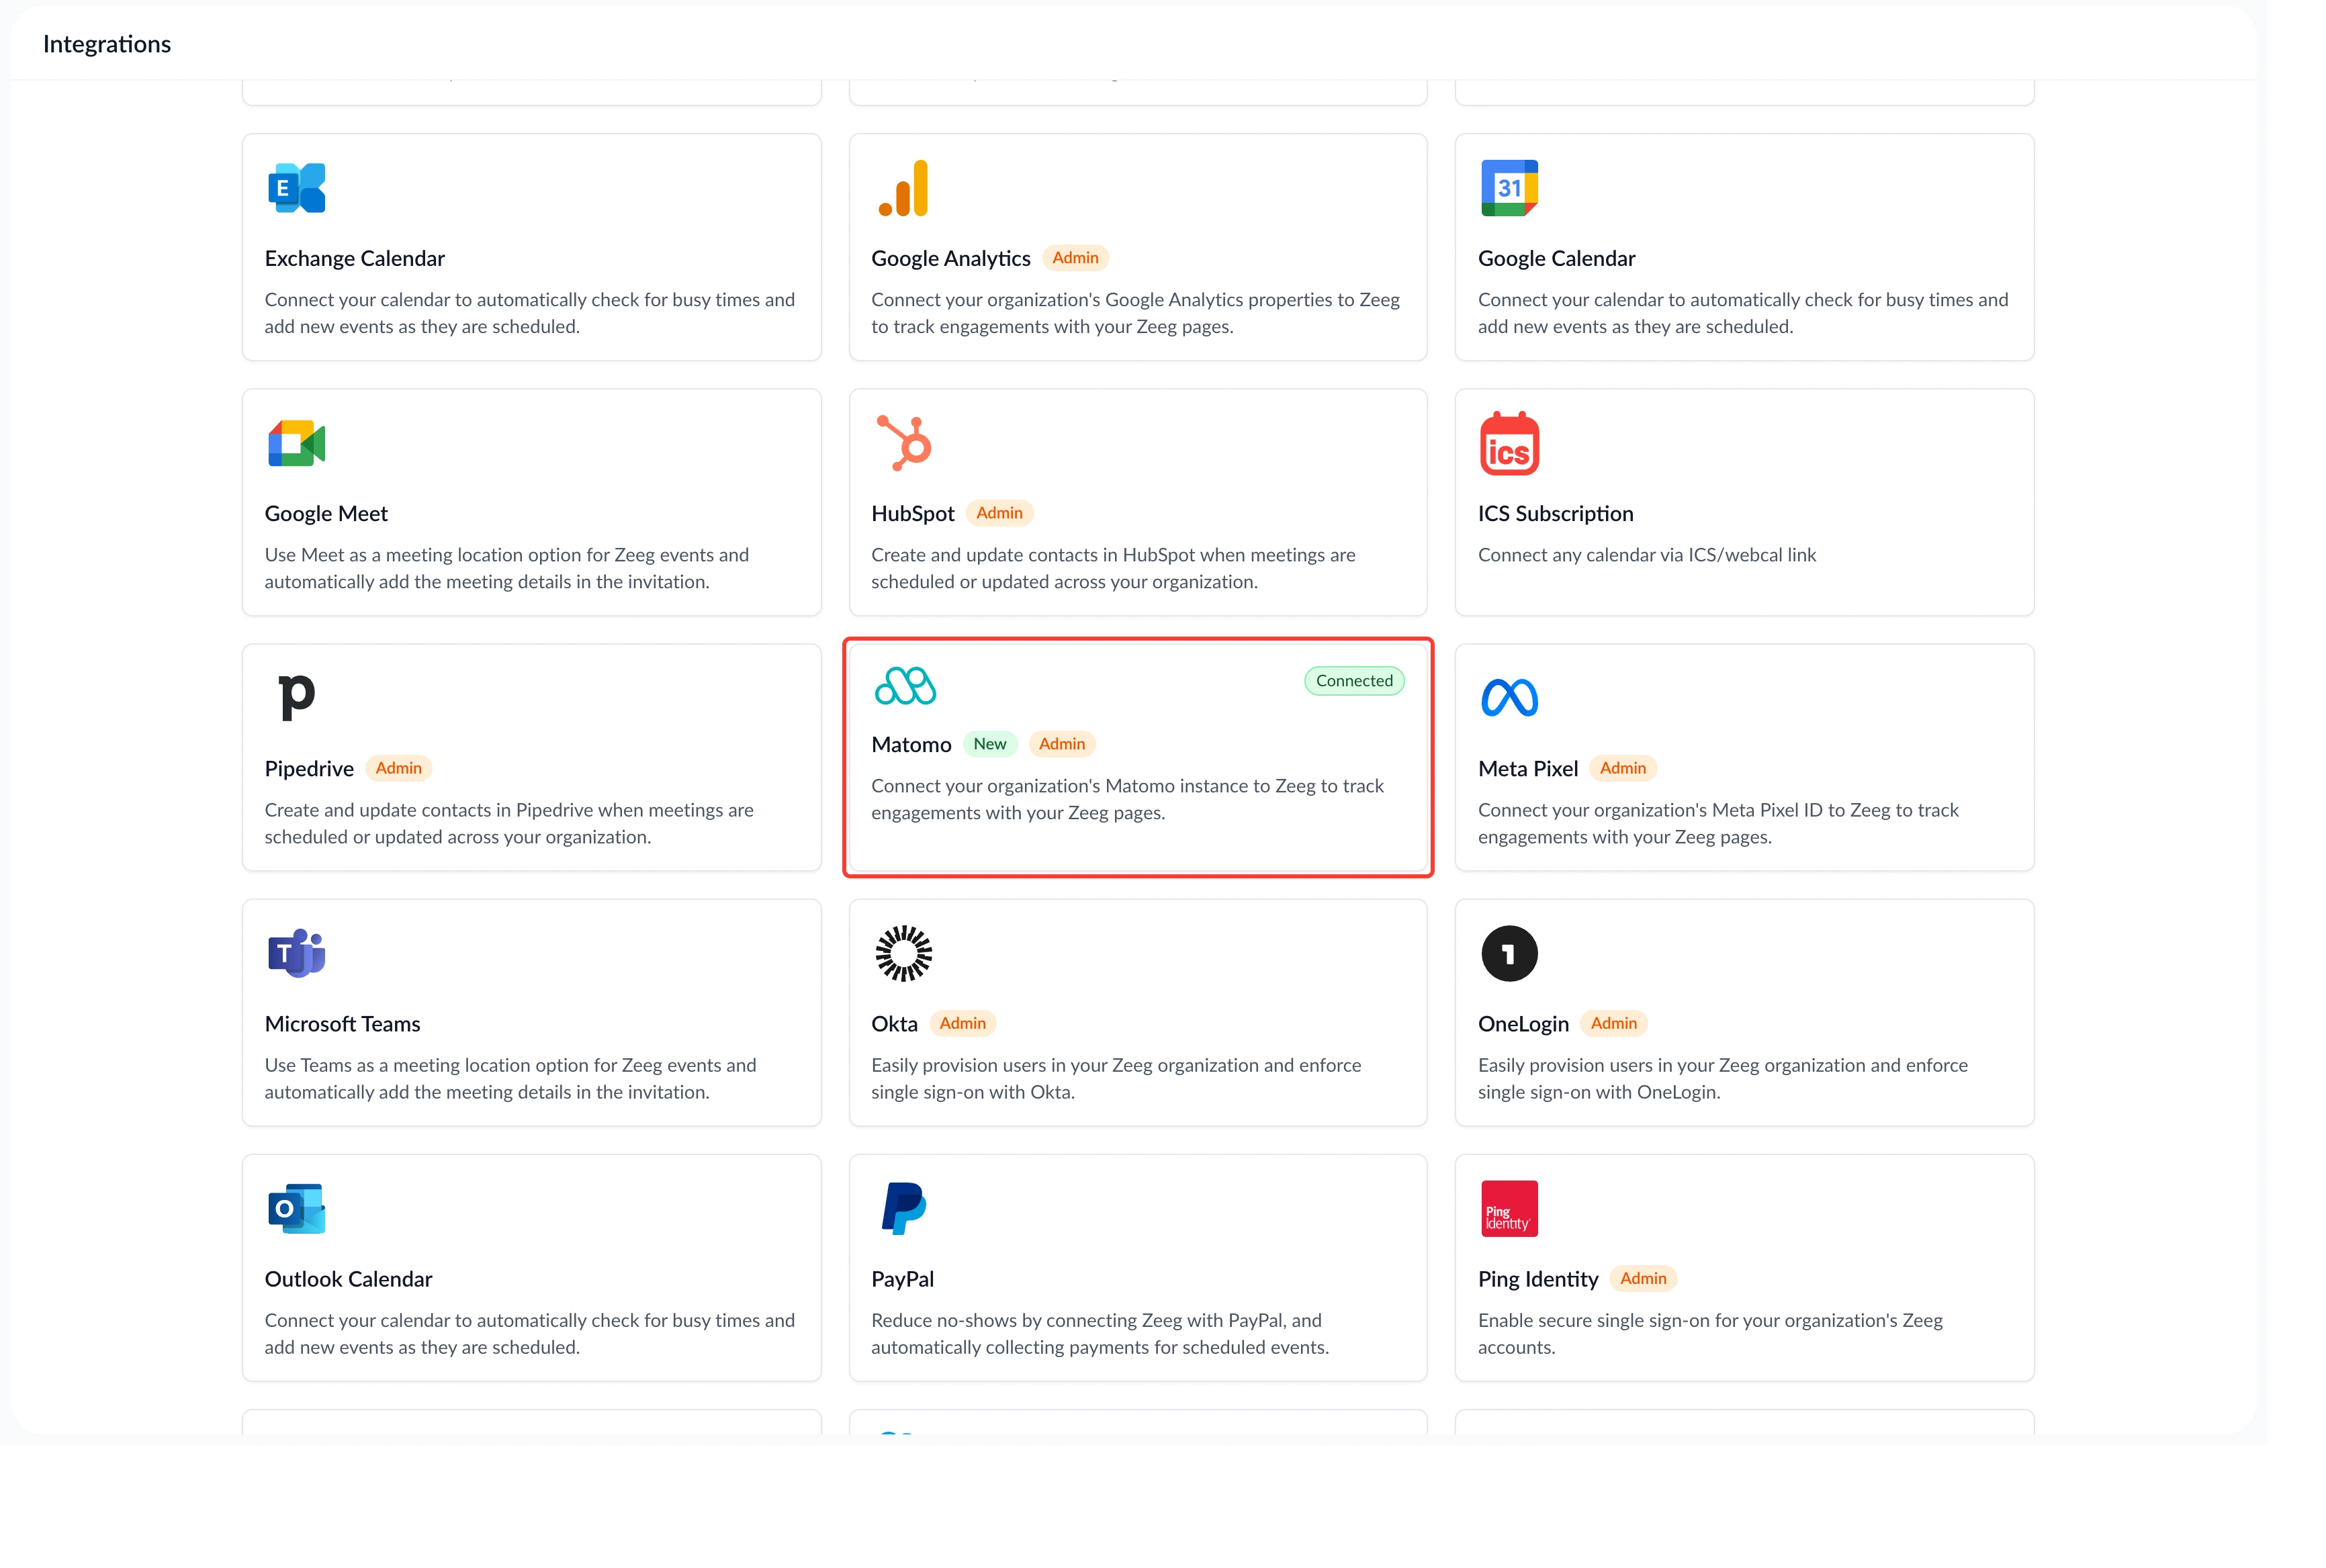
You can now connect your own Matomo account to track booking-page visits and completed bookings in your own analytics.
What's new:
• Matomo integration – Enter your Matomo address and site ID under Dashboard → Integrations → Matomo, and booking visits plus conversions start flowing in automatically.
• Revenue tracking included – Paid bookings report their revenue into Matomo as well, so conversion value shows up alongside visits.
• Cloud and self-hosted supported – Works whether you run Matomo Cloud or your own self-hosted instance.
• Consent-aware – Tracking respects your existing cookie-consent banner, the same way it already does for Google Analytics and Meta Pixel.
Why this matters: If Google Analytics or Meta Pixel don't fit your privacy requirements, you now have a self-hostable alternative that reports the metrics that matter — visits and completed bookings — without leaving your own analytics stack.
Matomo is available from the Business plan onwards.
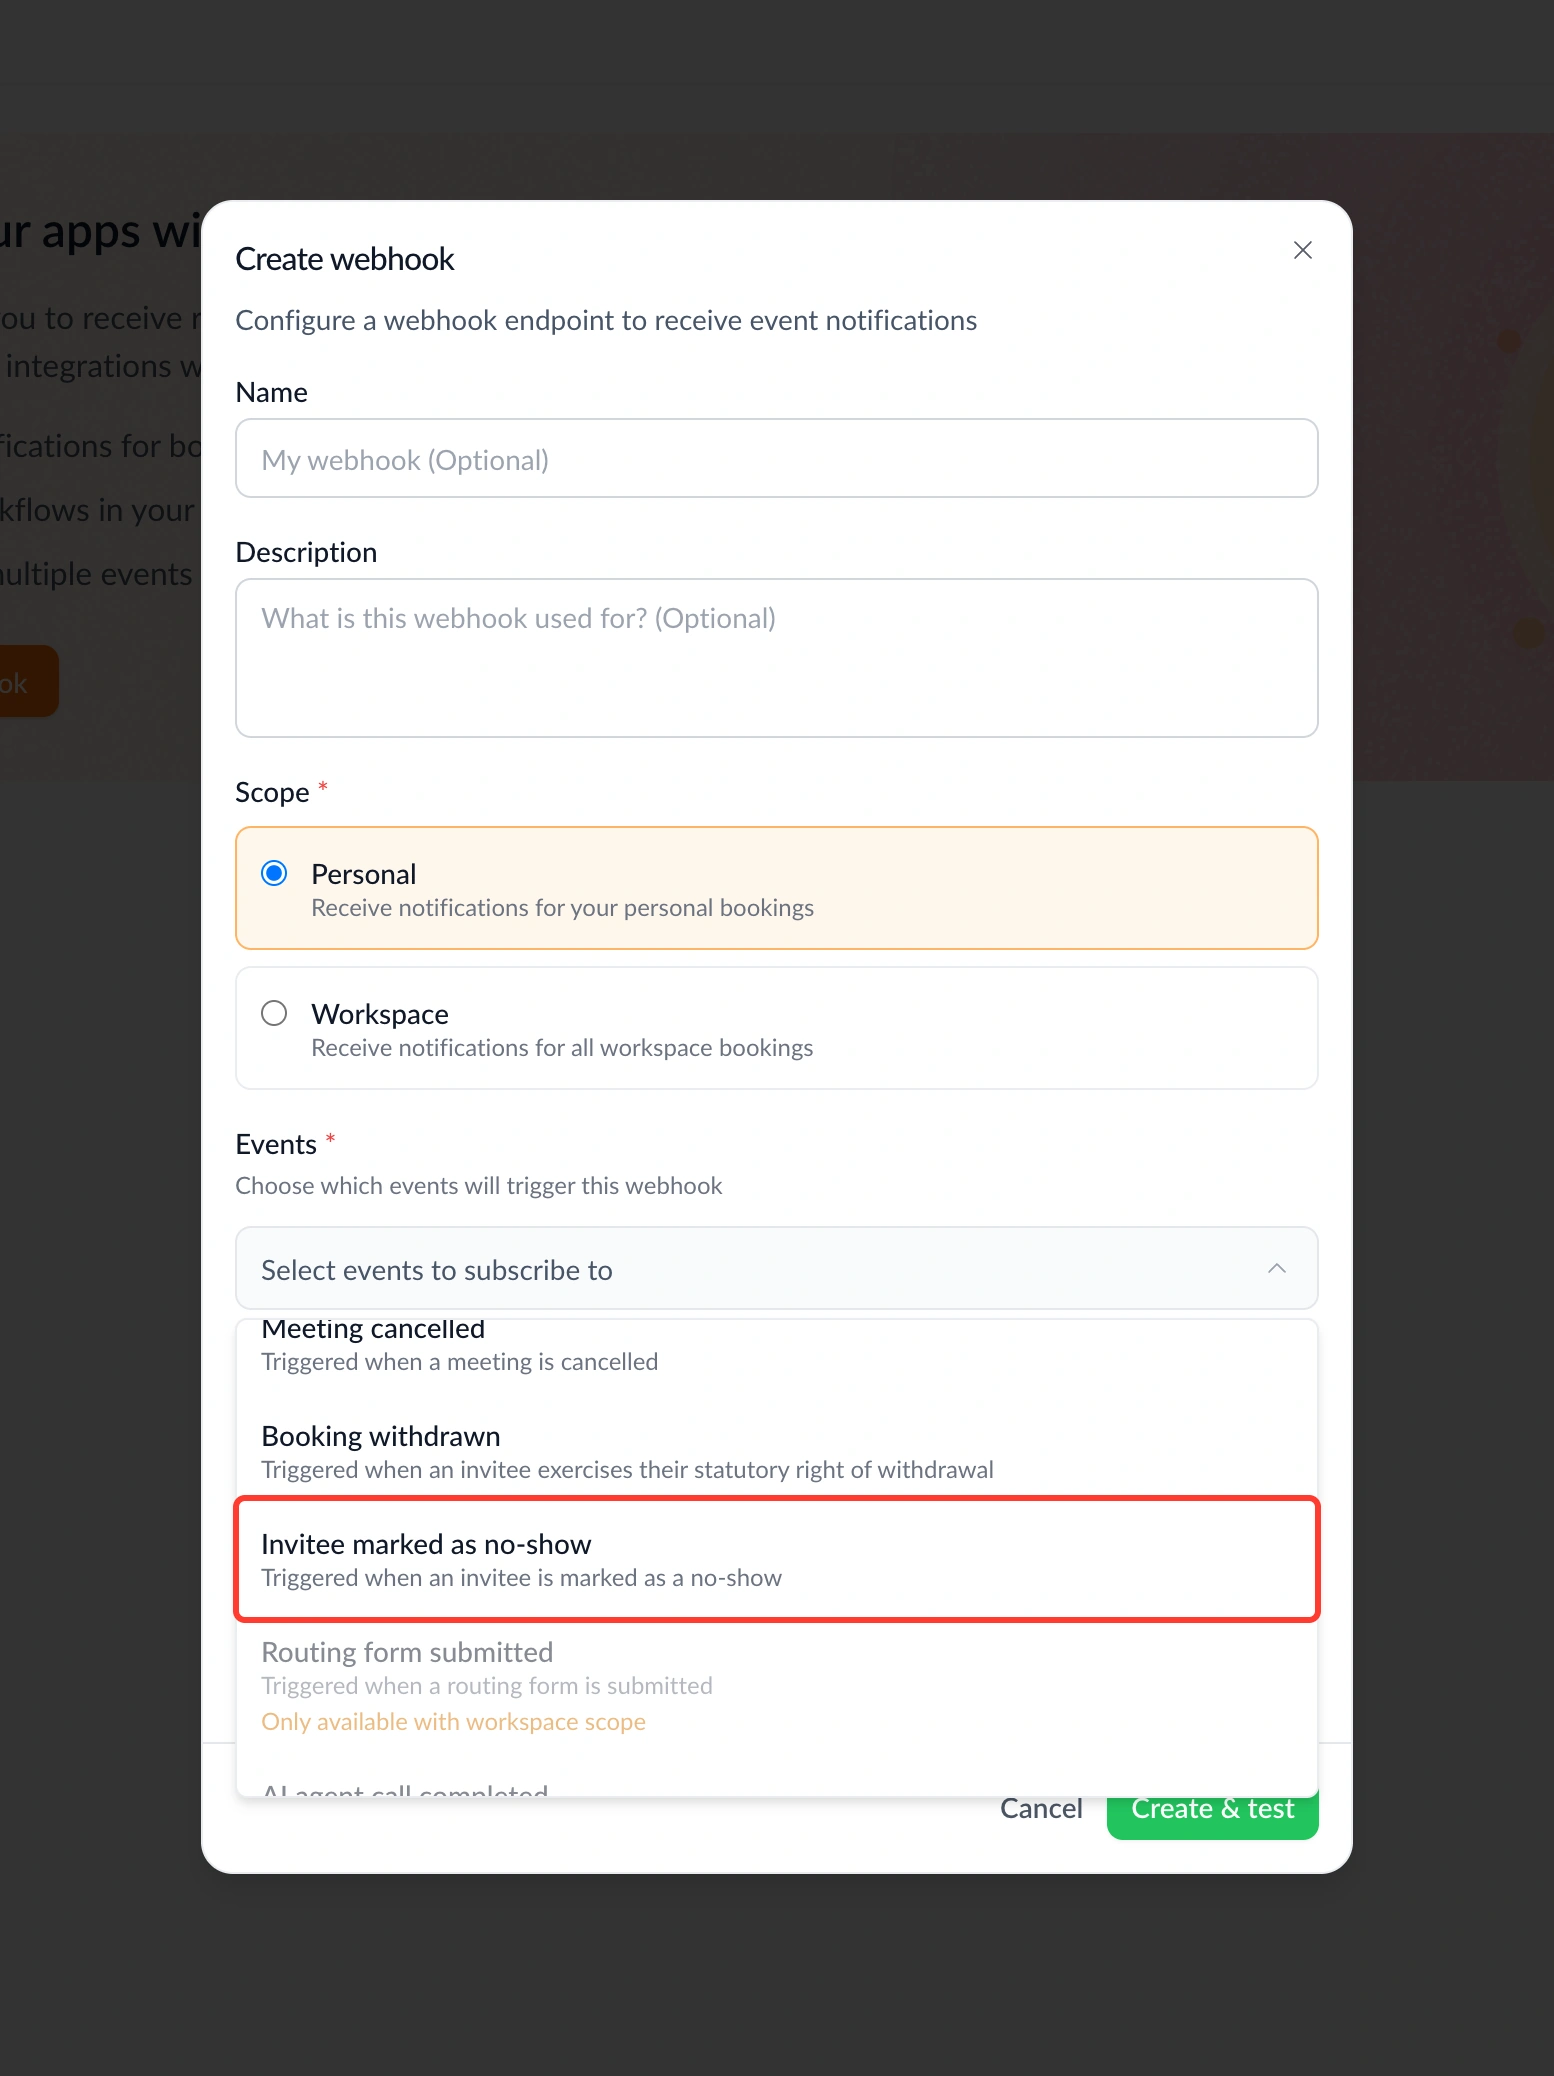
You can now read no-show status directly through Zeeg's public API, instead of tracking it separately by hand.
What's new:
• No-show on the participant object – When you mark someone as a no-show in the dashboard, that status and the time it was recorded now appear on the participant object returned by the API.
• Webhook support – Marking a participant as a no-show can now trigger a webhook, so external systems can react to attendance automatically.
Why this matters: Attendance reporting tools used to need a manual second record every time a host marked someone absent. Now the same data flows straight through the API and webhooks, so your reporting stays accurate without extra data entry.
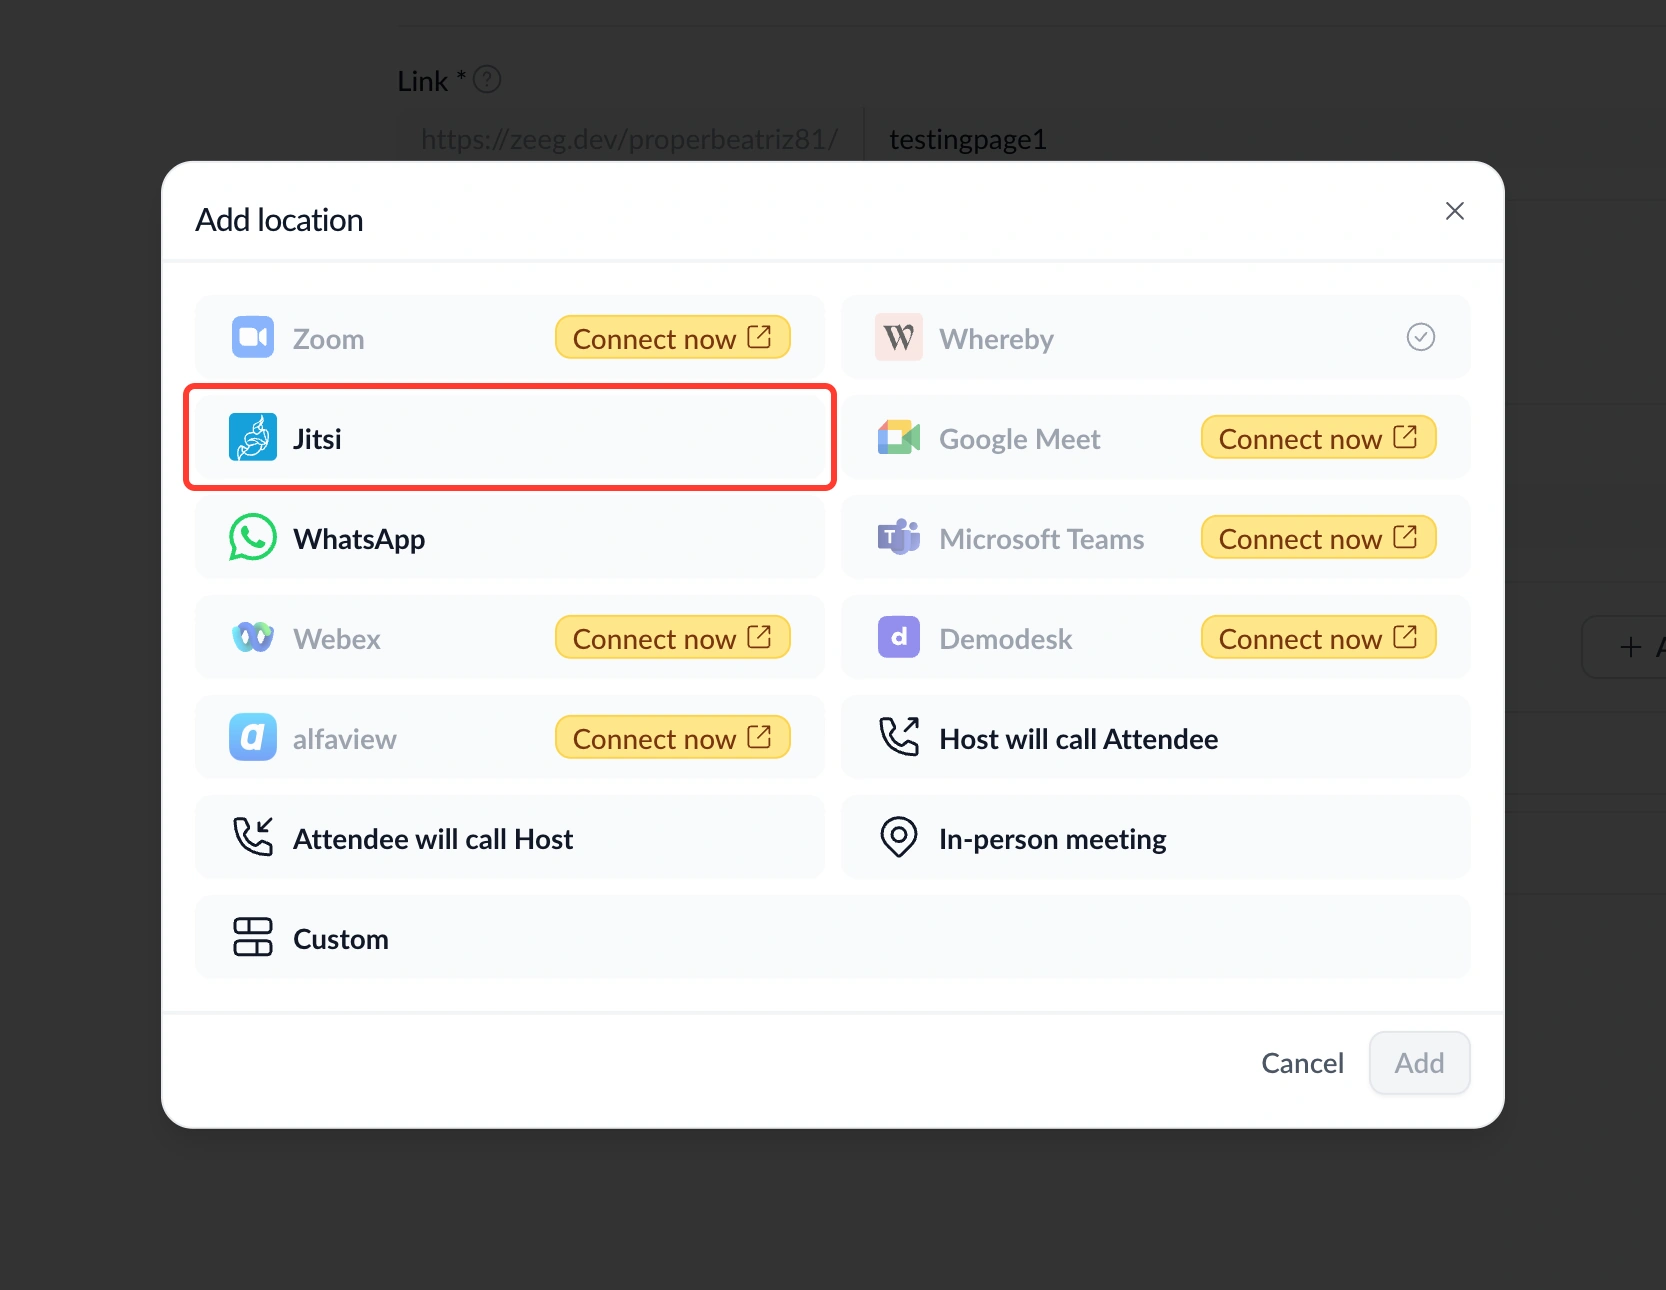
You can now connect your own Jitsi server and offer it as a proper meeting location, instead of pasting a raw link into a custom field.
What's new:
• Jitsi as a location – Add your Jitsi server address under the event type location picker; Zeeg then generates a unique meeting room for every booking automatically.
• Same treatment as other platforms – The Jitsi link appears in confirmation emails, reminders, and calendar invites, and stays hidden until payment on paid event types, just like Whereby.
• No public instance offered – You always point Zeeg to your own server; no shared public Jitsi room is ever suggested or pre-filled.
Why this matters: If you already run your own video infrastructure for privacy or compliance reasons, pasting links by hand felt like a workaround. Jitsi now behaves like any other integrated platform — automatic, reliable, and one less manual step per booking.
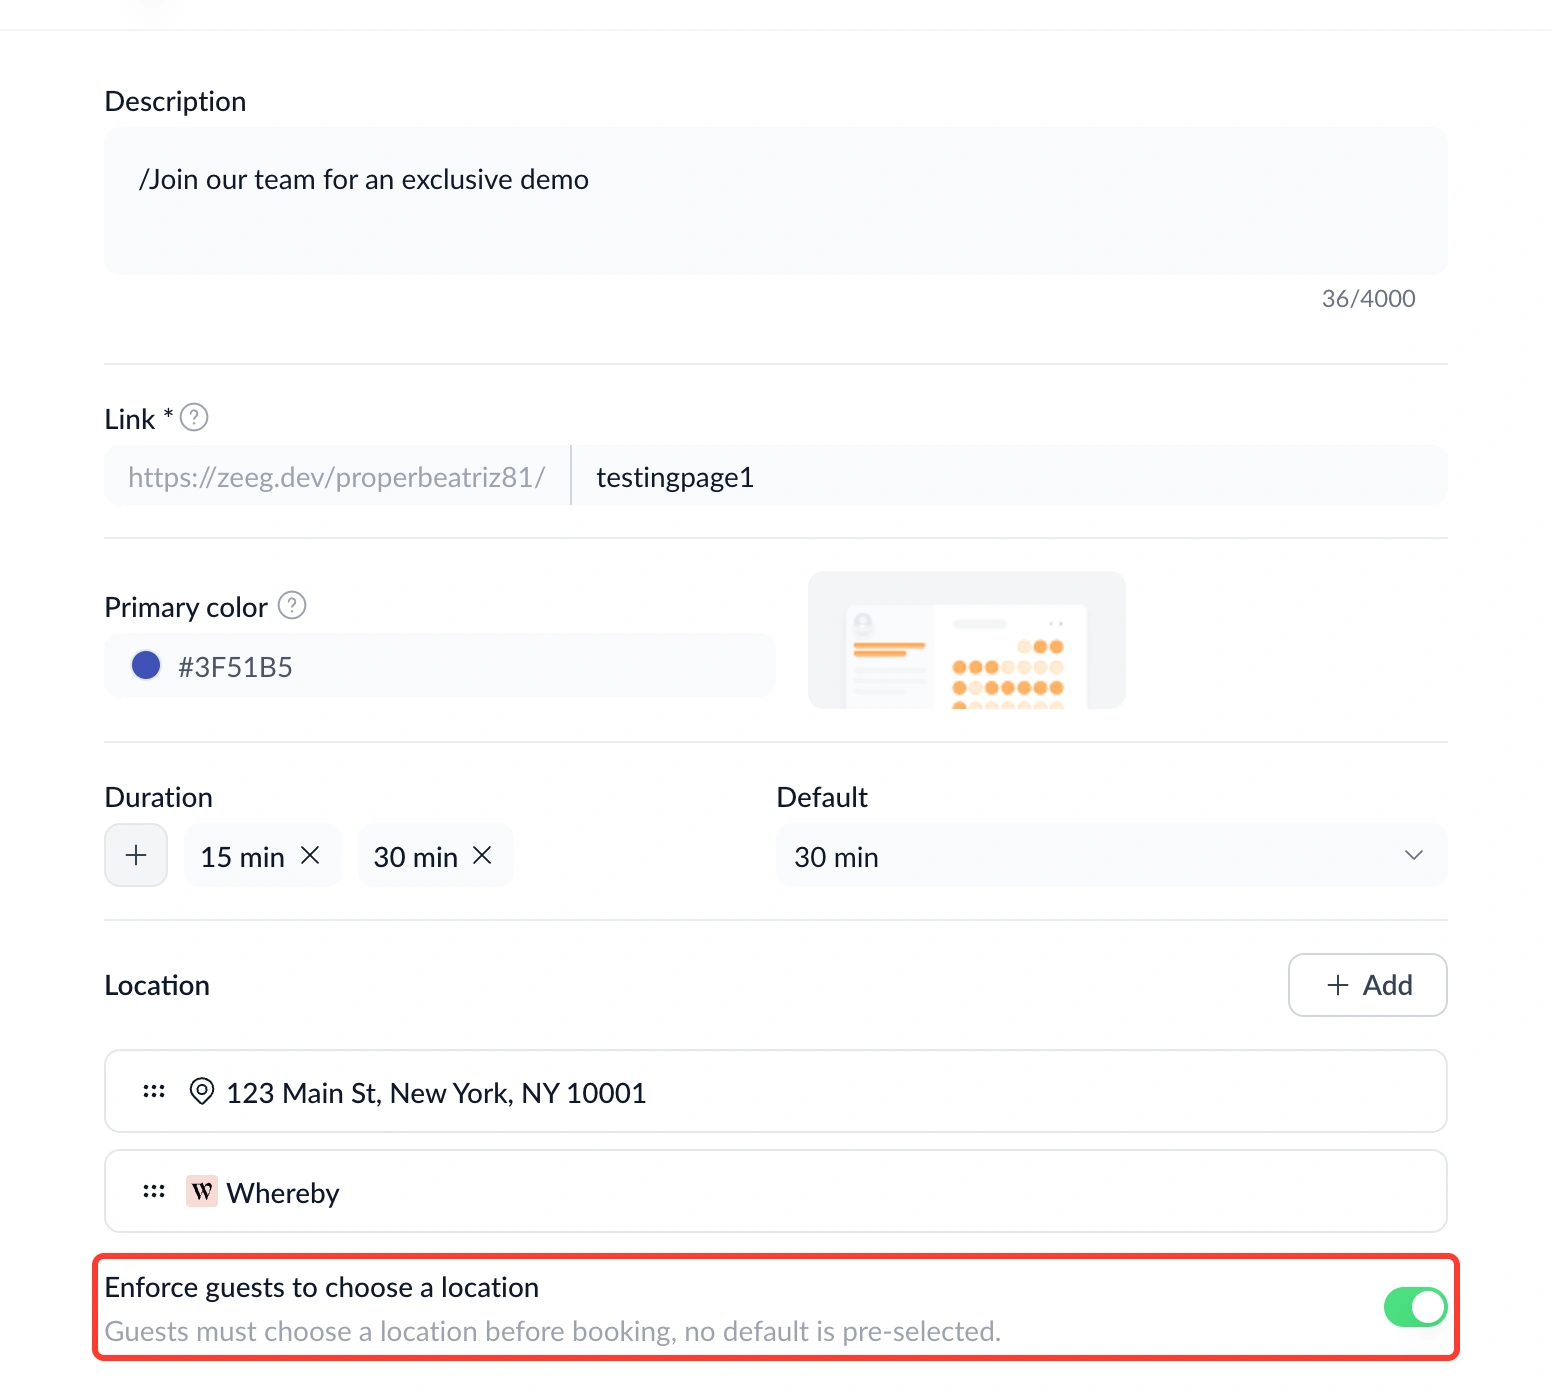
You can now make guests actively choose a meeting location before they see available times, instead of one being picked for them automatically. Single-location event types and booking links that already specify a location are unaffected.
What's new:
• Enforce location choice – A new toggle in Event type → Main Settings blocks the calendar and time slots until the guest picks a location; booking then continues as normal.
• Smarter round-robin availability – Once a location is chosen, round-robin slots only show hosts who can actually fulfil it.
• AI voice agent asks first – On multi-location routes, your AI voice agent now asks the caller which location they want instead of picking one silently.
Why this matters: An auto-selected location can quietly commit a guest to the wrong office or the wrong call platform. Making the choice deliberate means every booking — by phone or online — starts with the setup that actually fits.
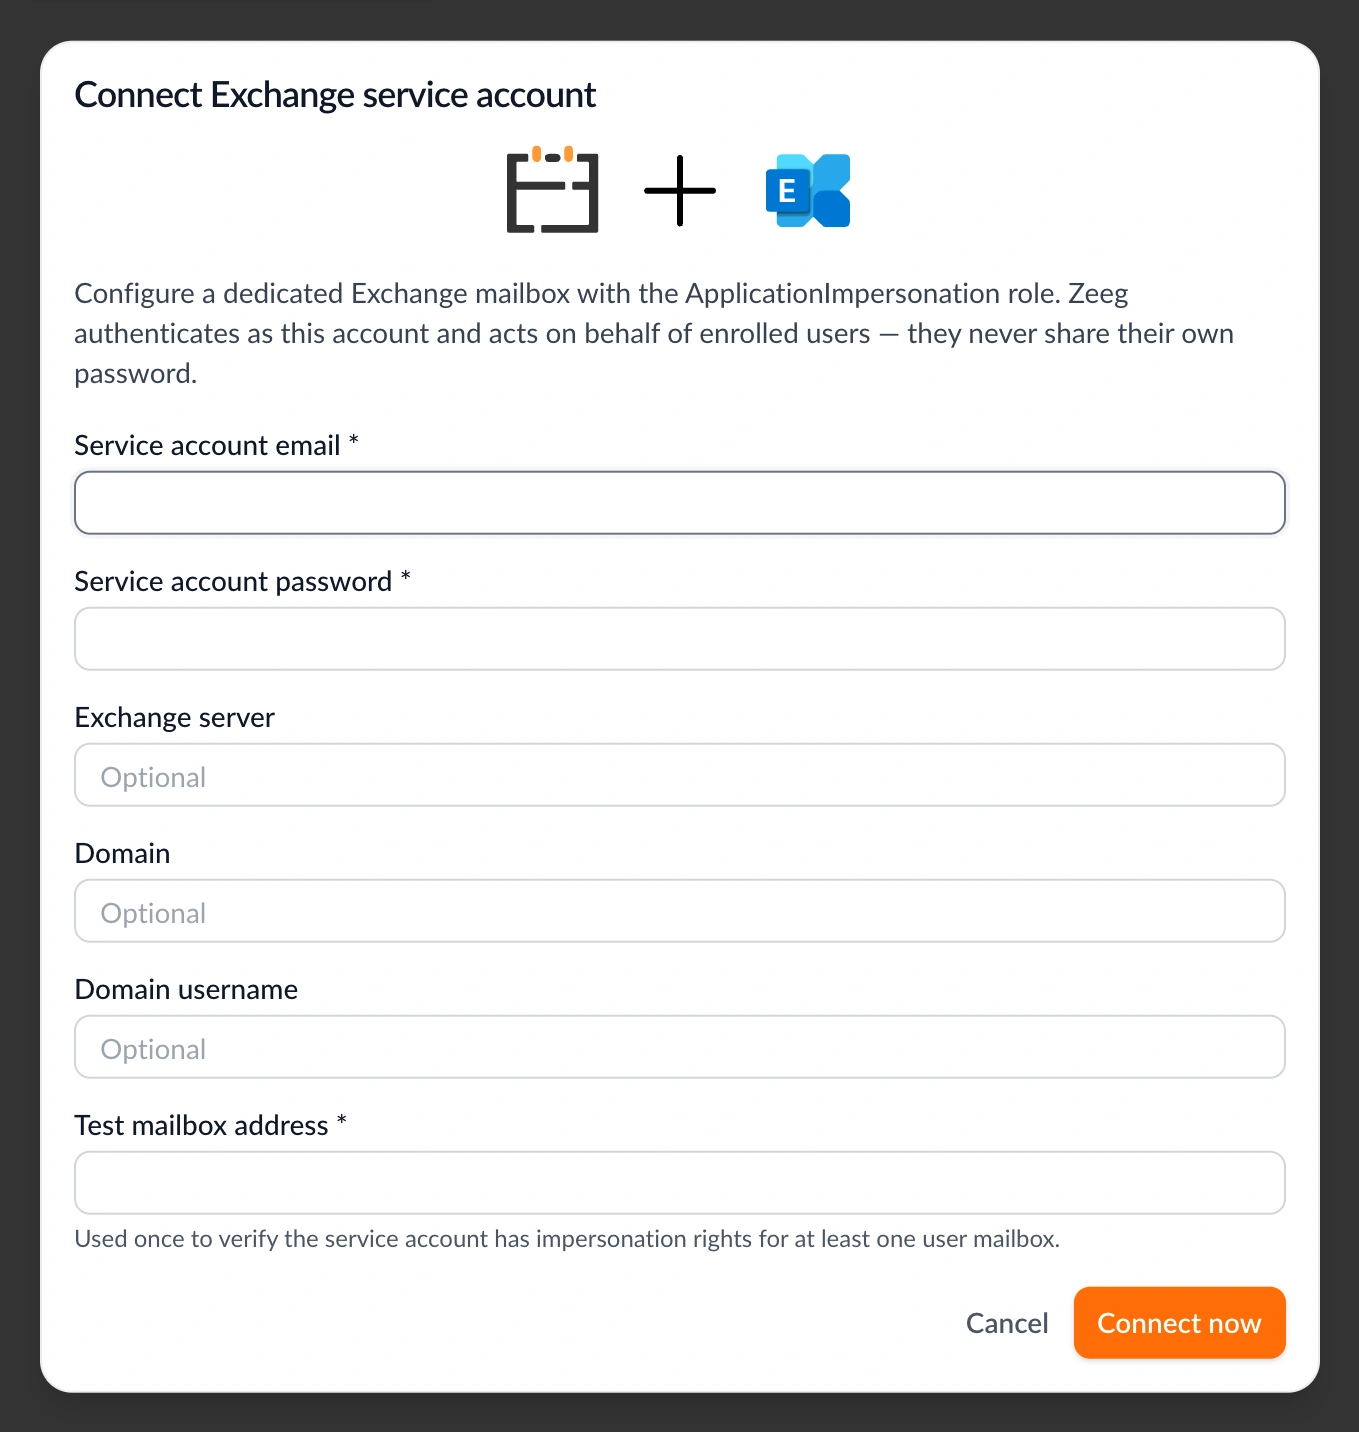
You can now manage your shared Microsoft Exchange connection with a lot more confidence.
What's new:
• Confirm before disconnecting – Disconnecting a shared Exchange account now warns you first and shows how many mailboxes will be removed; nothing is deleted until you confirm.
• Safer reconnecting – Reconnecting no longer wipes your already-connected mailboxes.
• Fixed enrollment screen – The add-users screen now correctly lists your organization's members so admins can enroll them in one step.
• Clear success/failure status – When connecting multiple mailboxes at once, you now see clearly which ones succeeded and which failed.
Why this matters: Losing every connected mailbox with one accidental click, or not being able to see your own team to enroll them, made this integration fragile to manage. Now every step is visible and reversible before it happens.
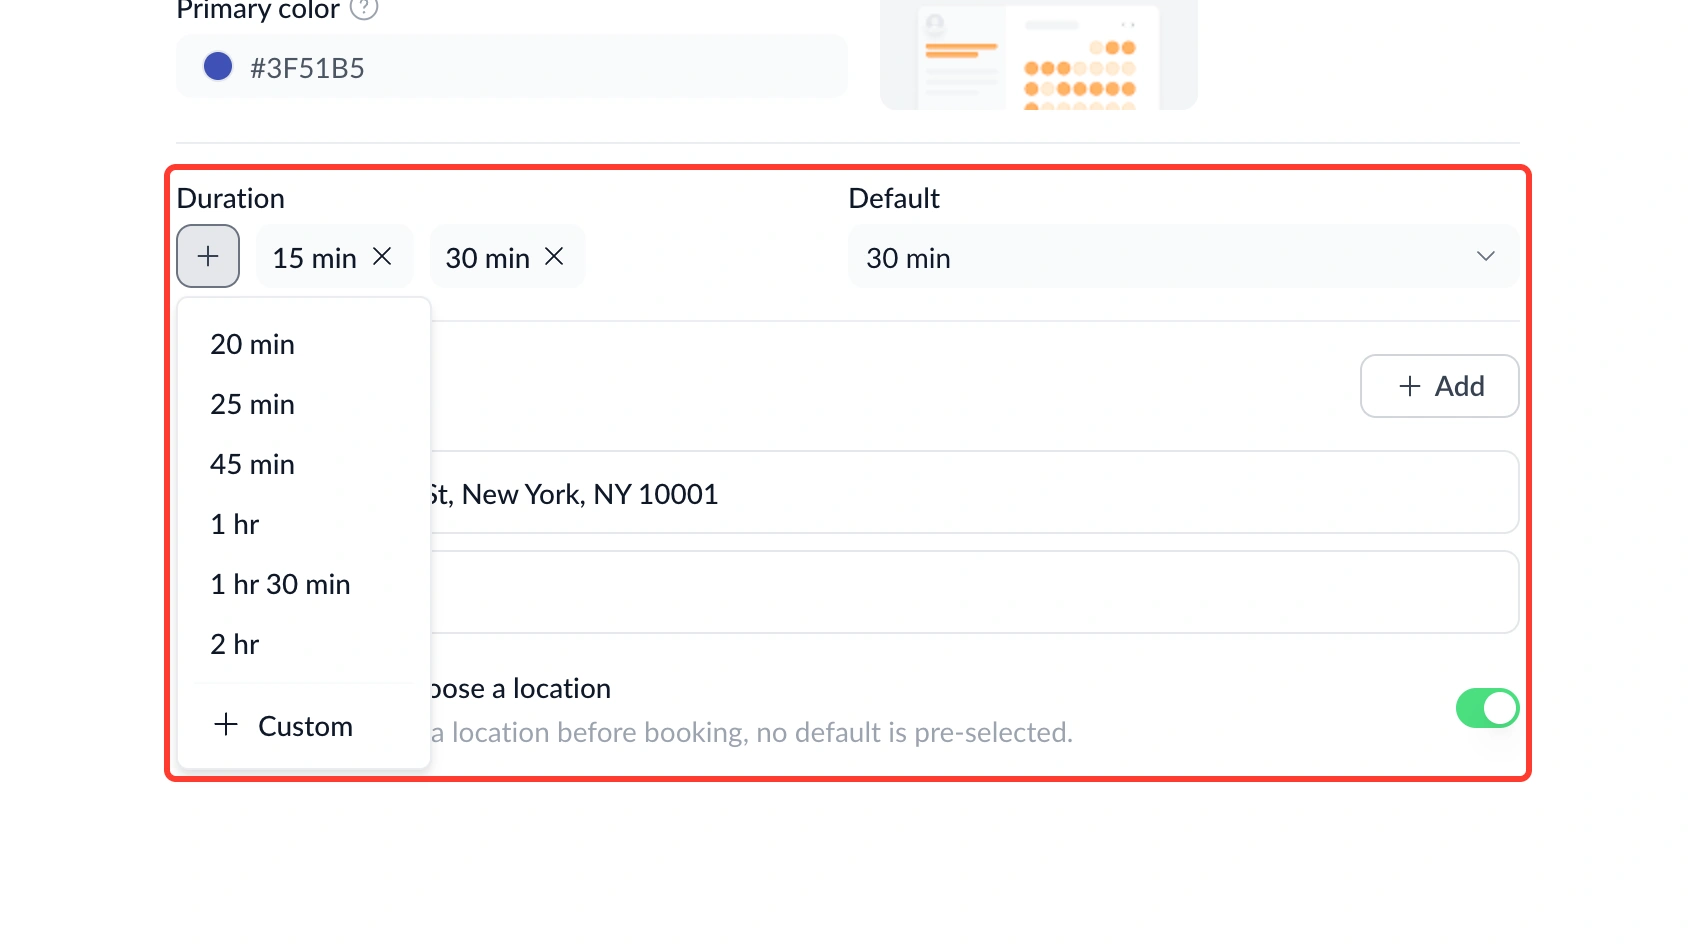
You can now add durations to a scheduling page in a single click.
What's new:
• Preset dropdown – Clicking "+" now opens a dropdown of preset durations you can add in one click, instead of going through a dialog each time.
• Custom option – A Custom option is still there for anything outside the presets.
• Default selector – When you have two or more durations, a Default selector lets you choose which one invitees see pre-selected.
Find it under Scheduling Page → Base Settings → Duration.
Why this matters: Setting up the common durations you use every day shouldn't take a dialog box each time. This gets you from zero to a fully configured scheduling page faster.
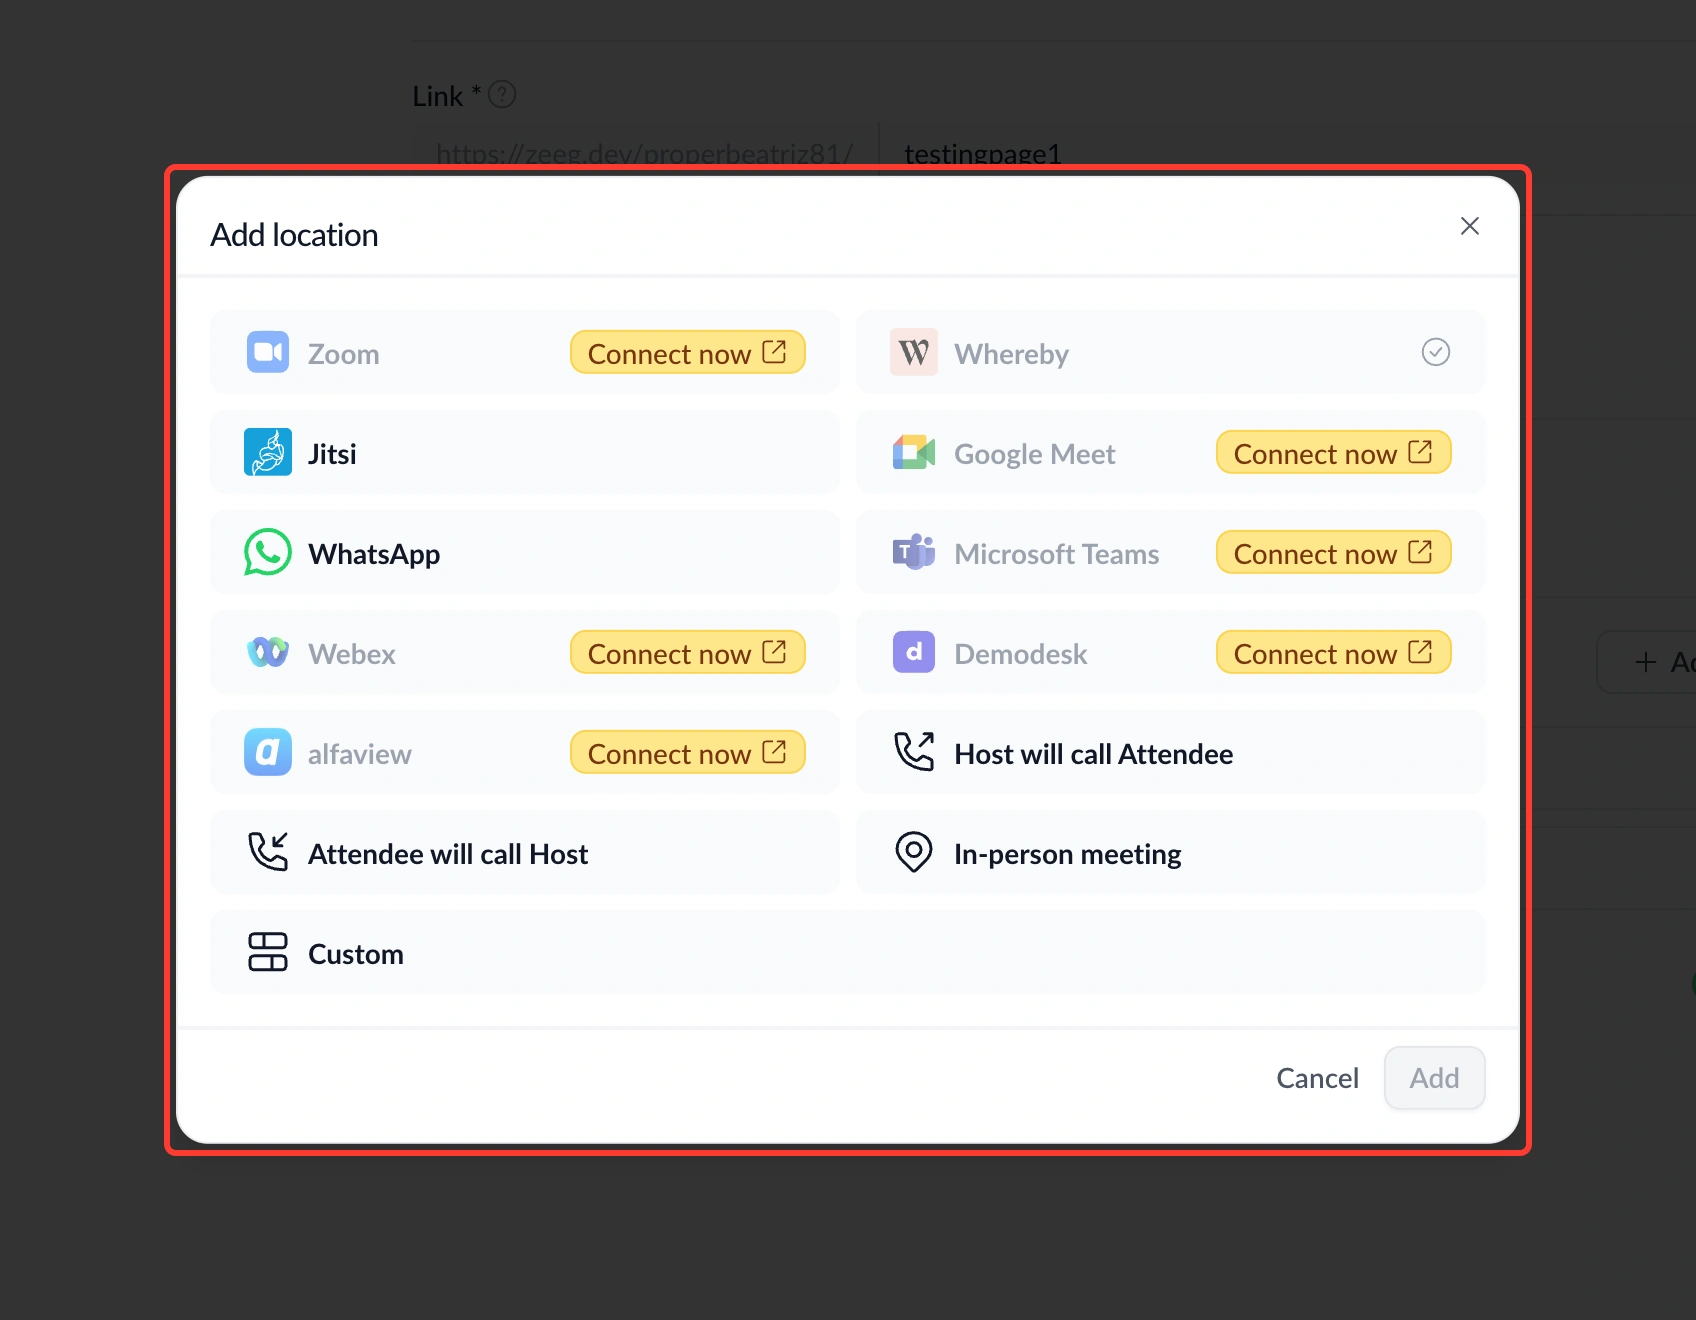
You can now add meeting locations to an event type through a clearer, faster flow.
What's new:
• Grid-based picker – Clicking "Add Location" now opens a dialog showing all available options as a grid, instead of a single dropdown.
• Clear connection status – Unconnected integrations like Zoom, Google Meet, and Teams appear greyed out with a "Connect Now" shortcut.
• Reorderable list – Once added, locations appear as a reorderable list — drag to change the order, and whichever is first becomes the default automatically.
Find it under Event type settings → Location section.
Why this matters: Picking and reordering meeting locations used to mean digging through a single dropdown. Now the options and their status are visible at a glance, so setup takes less time.
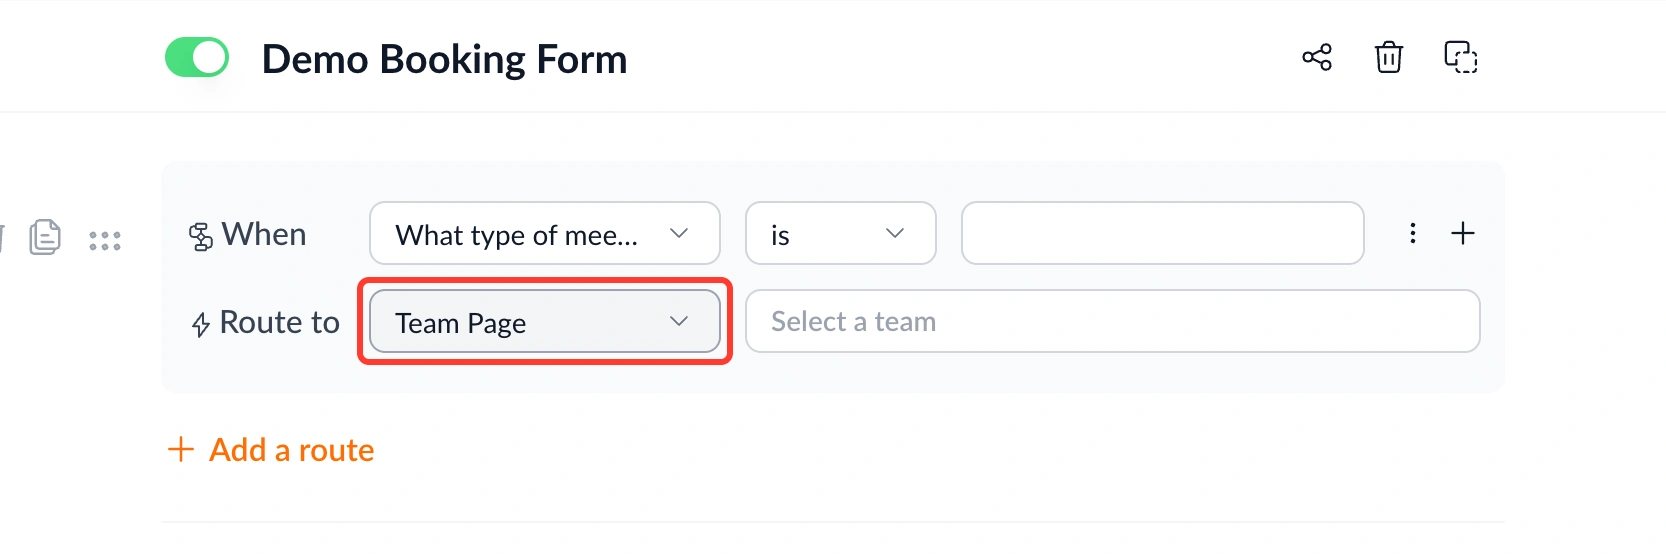
You can now send routing form respondents straight to a Team page.
What's new:
• Team page as a route – When building a routing form, you can now choose a Team page as one of the possible outcomes.
Why this matters: More outcome options mean you can direct people to exactly the right team based on their answers, without working around missing routing options.
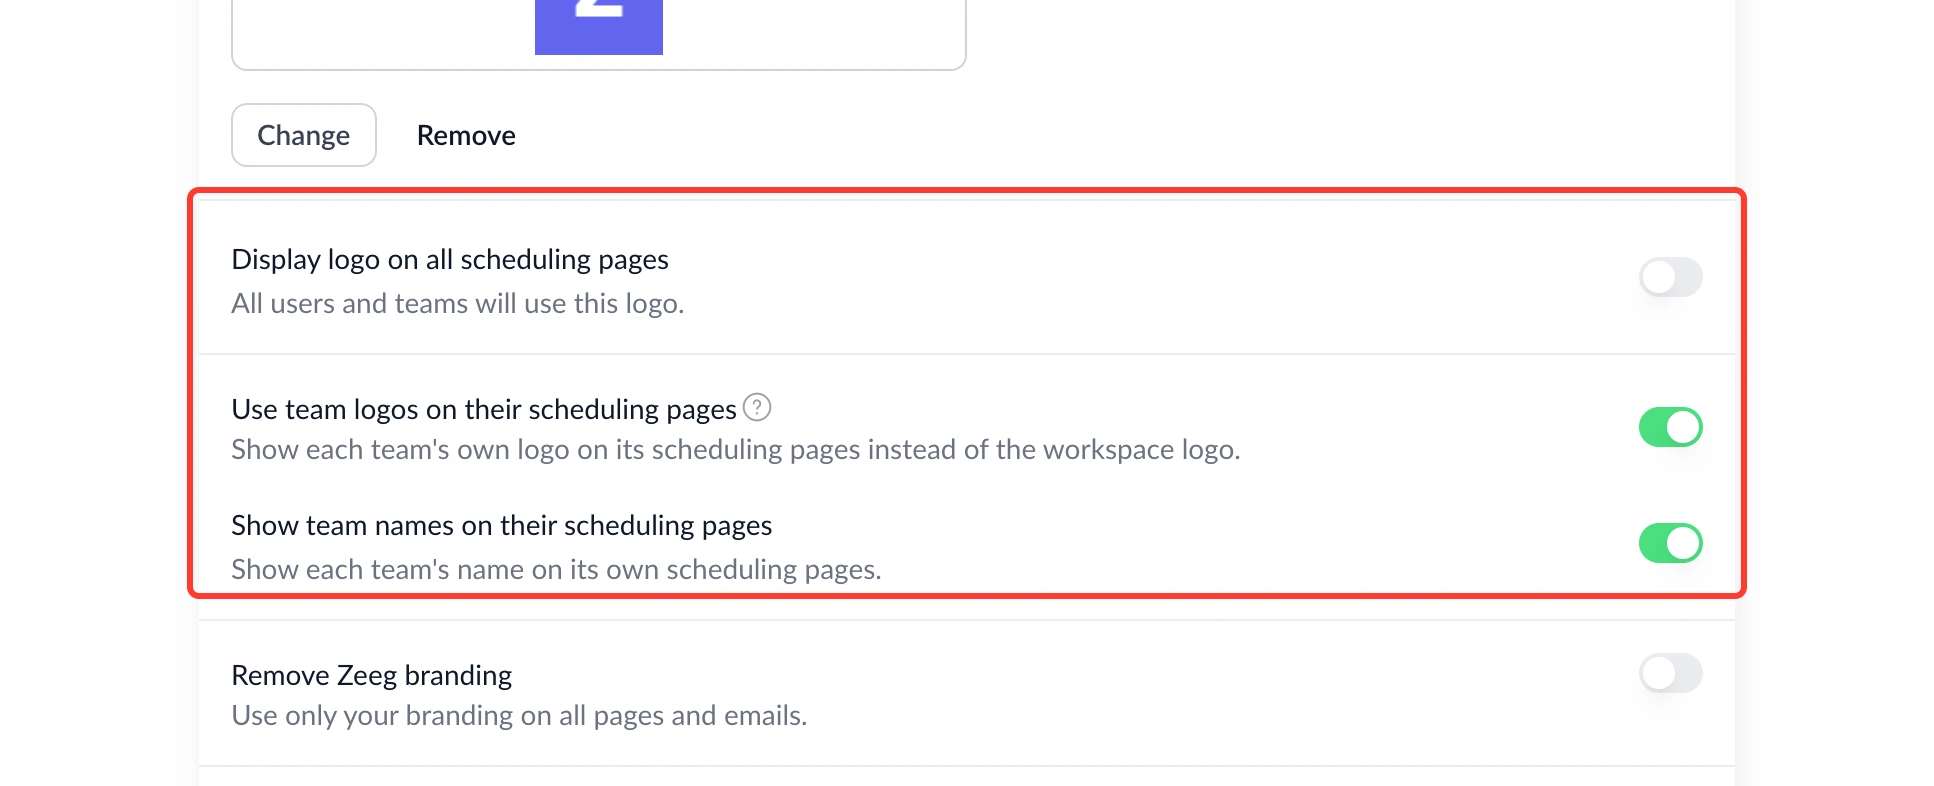
You can now control whether team scheduling pages show their own branding instead of the workspace defaults.
What's new:
• Team logo toggle – Choose to show a team's own uploaded logo instead of the workspace logo.
• Team name toggle – Choose whether the team name appears on booking pages, browser tabs, and link previews.
Find them at Workspace General Settings → Organization Profile.
Why this matters: Different teams inside the same workspace often want their own identity in front of guests. Now each team's pages can reflect that, without any extra setup per event type.
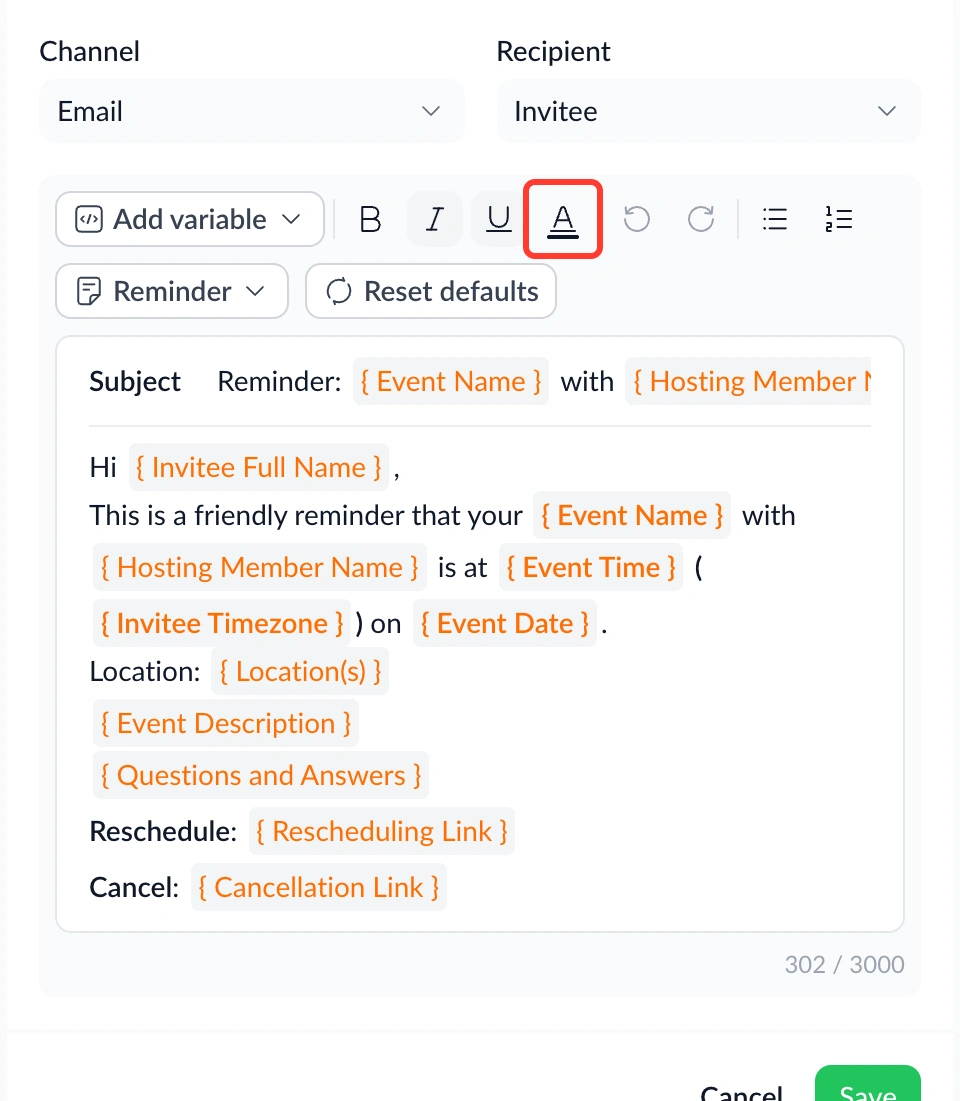
What you write is now exactly what recipients see — no more surprises between the editor and the final email.
What's new:
• Consistent formatting – Spacing, colours, and styling no longer shift between the editor preview, the booking page, and sent emails.
• Custom text colours – You can now set custom text colours in supported editors.
• Automatic brand colour – Your organisation's brand colour is automatically applied to email links and call-to-action buttons, with label colour adjusted for contrast.
Why this matters: A mismatch between what you designed and what recipients actually see undermines trust in your communications. Now the formatting you carefully set up shows up exactly the same way, everywhere it's used.